This post may contain affiliate links. Please read our disclosure policy.

Table of Contents
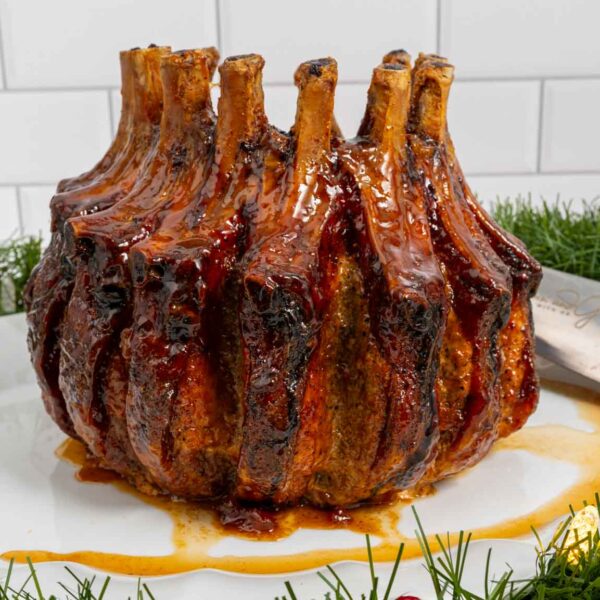
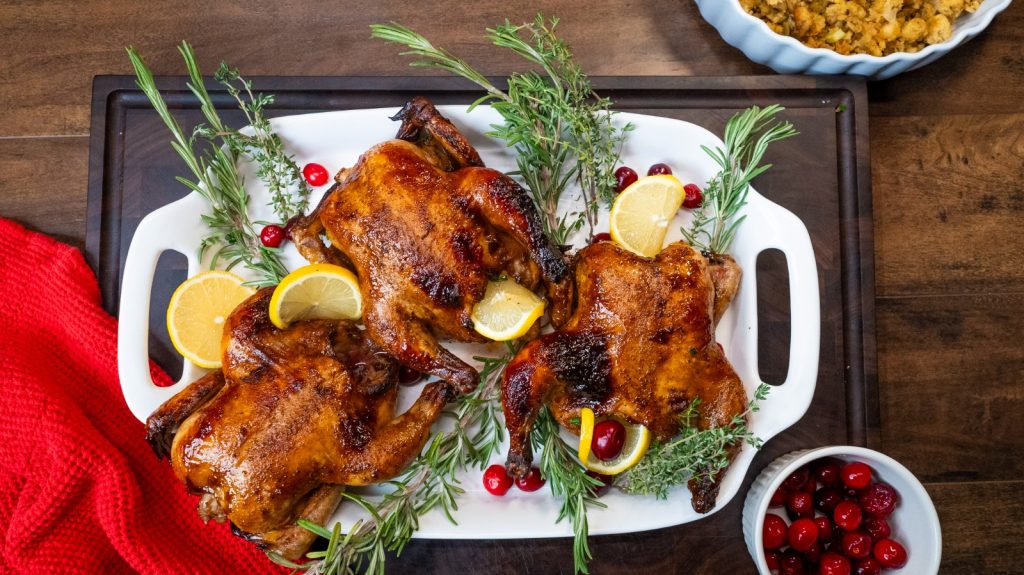
Ready to elevate your dinner game? Creole Cornish Hens bring a perfect balance of bold flavors, juicy meat, and crispy skin to your table. These small but mighty hens are packed with savory goodness, featuring rosemary olive oil, hickory balsamic vinegar, and a kick of Creole spices. Whether you’re serving a holiday feast or hosting a family dinner, this recipe is a showstopper.
Cornish hens are the perfect way to make an impressive dish without the stress of handling a massive bird. Their small size means faster cooking and more even flavor distribution. This recipe highlights Creole-inspired seasonings and the rich combination of olive oil and balsamic vinegar, while buttery basting ensures a crispy, golden finish.
If you’re looking for a dish that delivers on flavor and elegance, this is it. Each bite is tender, juicy, and infused with vibrant spices. The crispy, golden-brown skin is the cherry on top, making every mouthful unforgettable.
Ingredients You’ll Need
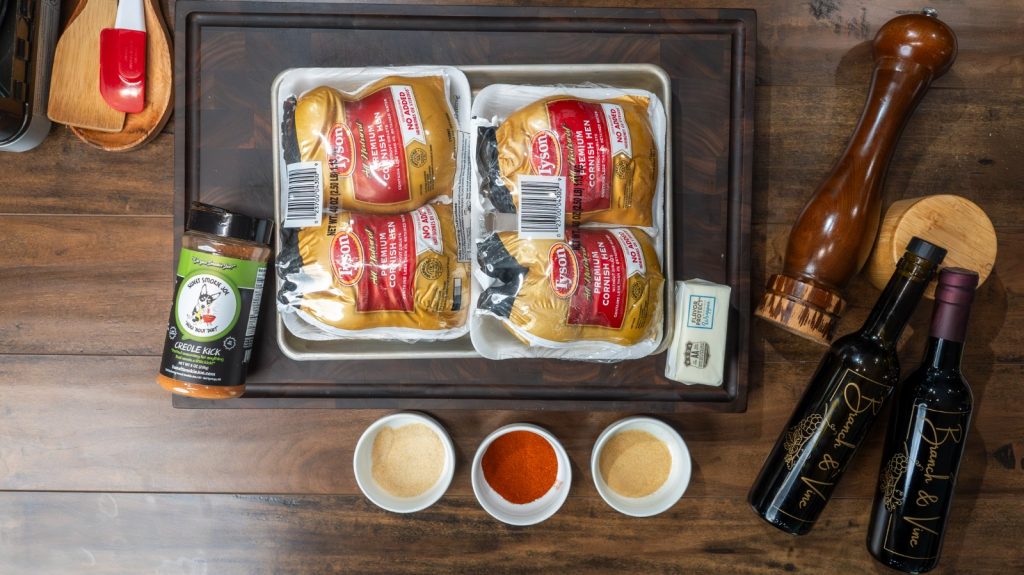
To make these flavorful Creole Cornish Hens, gather the following ingredients:
- 4 Tyson® Cornish Hens
- 1 stick unsalted butter (for basting)
- 1/4 cup Branch and Vine Rosemary Olive Oil
- 1/4 cup Branch and Vine Hickory Balsamic Vinegar
- 2 tablespoons Creole Kick seasoning
- 2 tablespoons AB’s A Rub seasoning
Step-by-Step Guide to Creole Cornish Hens
- Preheat Your Oven
- Start by preheating your oven to 425°F. This high temperature helps achieve crispy skin and tender meat.
- Prepare the Cornish Hens
- Remove the hens from their packaging, rinse them under cold water, and pat them dry with paper towels. Ensuring they’re completely dry is key for a beautifully crisp skin.
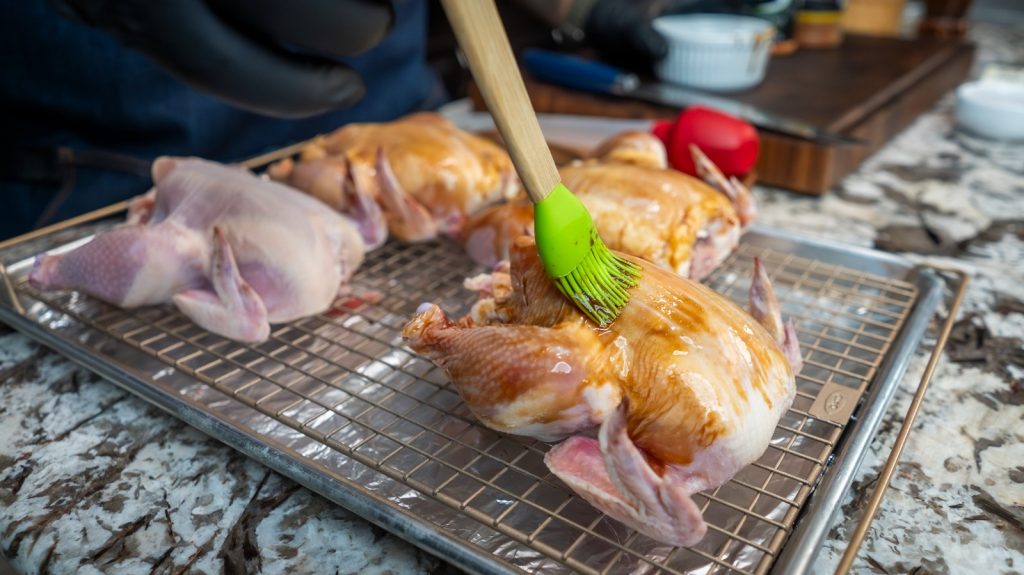
- Create the Seasoning Blend
- In a small bowl, mix the rosemary olive oil and hickory balsamic vinegar. This blend adds a savory and slightly smoky flavor.
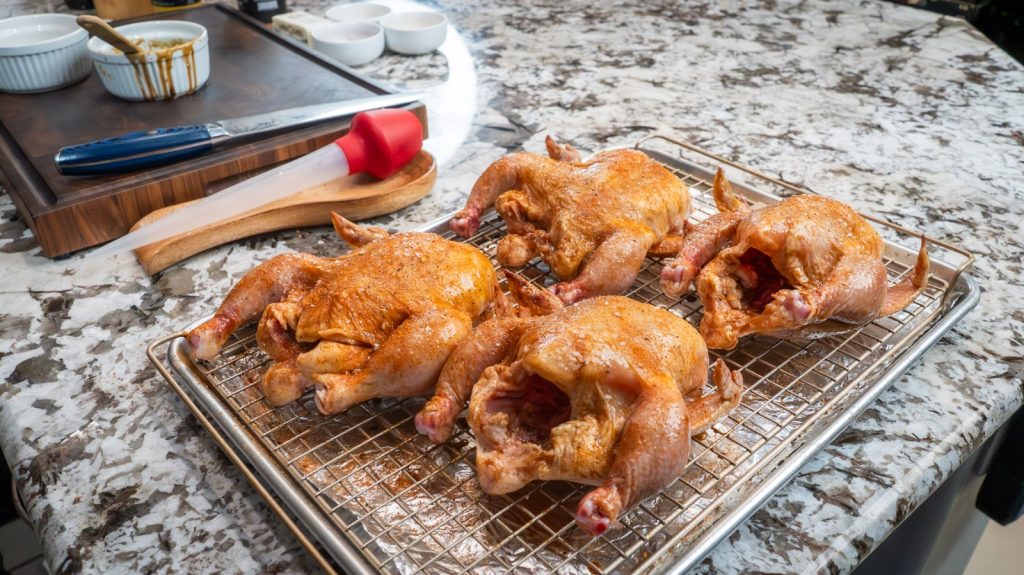
- Season the Hens
- Brush each hen generously with the olive oil and balsamic mixture, making sure to coat all sides evenly.
- Sprinkle the hens liberally with Creole Kick and AB’s A Rub. Rub the seasonings into the skin and under it for maximum flavor.
- Set Up for Roasting
- Place the seasoned hens breast-side up in a roasting pan. Use a rack if possible to allow for even air circulation.
- Roast the Hens
- Transfer the hens to the oven and roast for 50 minutes to 1 hour.
- Butter Basting
- Melt the stick of butter in a small saucepan or microwave. Every 20 minutes, baste the hens with the melted butter using a brush or spoon. This step helps the skin achieve a golden, crispy finish while locking in moisture.
- Check for Doneness
- Use a meat thermometer to ensure the thickest part of the thigh reaches 165°F. Once done, remove the hens from the oven.
- Let Them Rest
- Allow the hens to rest for 10 minutes before serving. Resting ensures the juices redistribute for tender, flavorful meat.
Expert Tips and Tricks
- Under the Skin: Carefully lift the skin and rub the oil and seasoning mix directly on the meat for deeper flavor.
- Crispy Finish: Broil the hens for the last 2-3 minutes of cooking for extra crispy skin. Watch closely to prevent burning.
- Basting Technique: Use a silicone brush or ladle for even butter application without disturbing the seasoning.
- Rack Roast: Roasting on a rack ensures the heat circulates evenly and prevents the bottom from getting soggy.
15 Variations of Creole Cornish Hens
- Replace rosemary olive oil with garlic-infused olive oil.
- Use lemon balsamic vinegar for a fresh, citrusy twist.
- Add smoked paprika to the seasoning for a smoky kick.
- Marinate the hens overnight in buttermilk for extra tenderness.
- Stuff the cavities with lemon wedges, rosemary sprigs, and garlic cloves for added aroma.
- Drizzle honey over the hens during the last 10 minutes of roasting for a touch of sweetness.
- Add chili flakes to the seasoning for extra heat.
- Substitute AB’s A Rub with your favorite BBQ seasoning blend.
- Add orange zest to the oil mixture for a bright, fruity note.
- Use a honey mustard glaze during the last 10 minutes of roasting for a tangy finish.
- Sprinkle fresh thyme instead of rosemary for a different herbaceous flavor.
- Add a splash of white wine to the pan juices for a rich, savory sauce.
- Roast the hens on a bed of root vegetables for a built-in side dish.
- Use Cajun seasoning in place of Creole Kick for a different southern spin.
- Add a bit of soy sauce to the oil and vinegar mix for a savory umami touch.
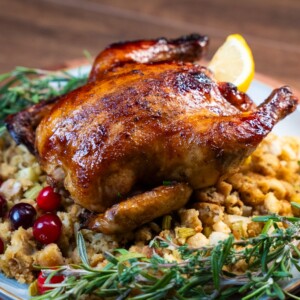
What to Serve with Creole Cornish Hens
Complete your Creole Cornish Hens with these side dishes:
- Cajun rice
- Garlic mashed potatoes
- Honey-glazed carrots
- Southern-style collard greens
- Cornbread stuffing
- Roasted Brussels sprouts with bacon
- Red beans and rice
- Grilled asparagus
- Macaroni and cheese
- Buttery biscuits
- Sweet potato casserole
- Caesar salad
- Sauteed green beans with almonds
- Cornbread muffins
- Fresh cranberry sauce
Storage Tips
- Refrigeration: Place leftover hens in an airtight container and store in the fridge for up to 3 days.
- Freezing: Wrap tightly in aluminum foil and store in a freezer-safe bag for up to 3 months.
- Reheating: Warm in the oven at 350°F until heated through to maintain crispness.
How Much Creole Cornish Hens Should I Make for Family Gatherings?
Plan for one Cornish hen per adult and half a hen for younger diners. For a gathering of 12 adults, prepare at least 12 hens for generous portions.
How Far in Advance Can I Make Creole Cornish Hens?
You can prepare the hens up to 24 hours in advance. Season them with the oil, vinegar, and spices, then let them rest uncovered in the fridge to dry out the skin. Bake them fresh the day of your event for the best results.
Summarize and Save
Creole Cornish Hens
Ingredients
- 4 Tyson® Cornish Hens
- 1 stick unsalted butter for basting
- 0.25 cup Branch and Vine Rosemary Olive Oil
- 0.25 cup Branch and Vine Hickory Balsamic Vinegar
- 2 tablespoons Creole Kick seasoning
- 2 tablespoons AB’s A Rub seasoning
Instructions
- Preheat your oven to 425°F. This high temperature helps achieve crispy skin and tender meat.
- Remove the hens from their packaging, rinse under cold water, and pat dry with paper towels. Ensuring they are completely dry is key for beautifully crisp skin.
- In a small bowl, mix the rosemary olive oil and hickory balsamic vinegar. This blend adds a savory and slightly smoky flavor.
- Brush each hen generously with the olive oil and balsamic mixture, coating all sides evenly. Sprinkle the hens liberally with Creole Kick and AB’s A Rub. Rub the seasonings into the skin and under it for maximum flavor.
- Place the seasoned hens breast-side up in a roasting pan. Use a rack if possible to allow for even air circulation.
- Transfer the hens to the oven and roast for 50 minutes to 1 hour.
- Melt the stick of butter in a small saucepan or microwave. Every 20 minutes, baste the hens with the melted butter using a brush or spoon. This helps the skin achieve a golden, crispy finish while locking in moisture.
- Use a meat thermometer to ensure the thickest part of the thigh reaches 165°F. Remove the hens from the oven and let them rest for 10 minutes before serving. Resting ensures the juices redistribute for tender, flavorful meat.
Nutrition
Nutrition information is automatically calculated, so should only be used as an approximation.
Like This? Leave a comment below!