This post may contain affiliate links. Please read our disclosure policy.
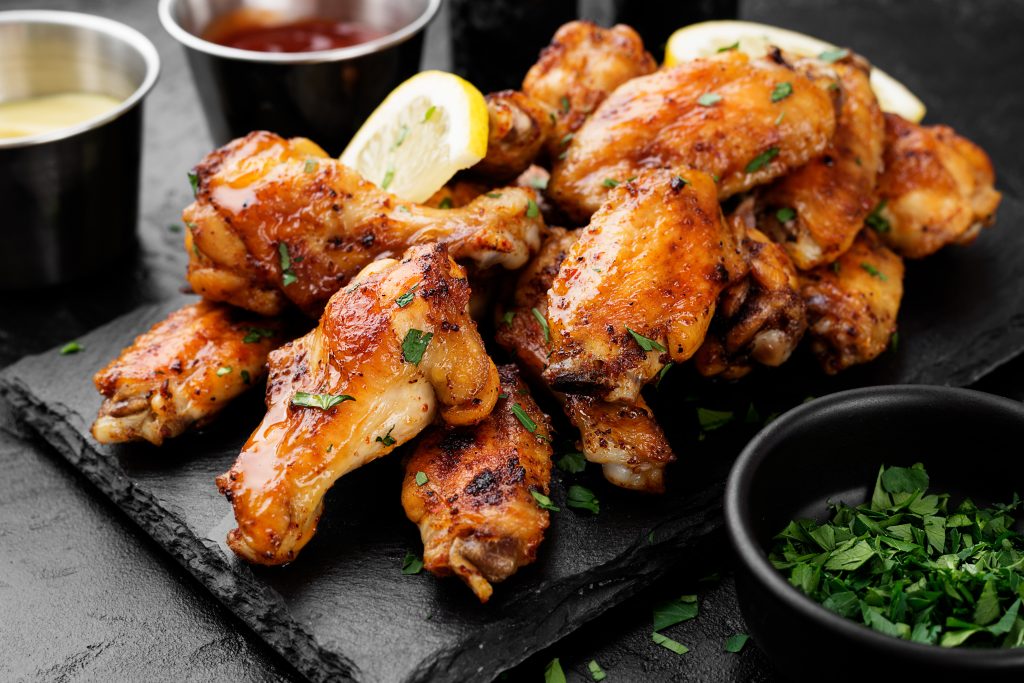
Table of Contents
- Ingredients for Crispy Baked Chicken Wings
- Step-by-Step Guide to Preparing Crispy Baked Chicken Wings
- Expert Tips and Tricks for Perfect Wings Every Time
- 15 Variations to Switch Up the Flavor Game
- What to Serve with Crispy Baked Chicken Wings: 15 Perfect Pairings
- Storage Tips for Crispy Baked Chicken Wings
- How Many Wings Should I Make for a Family Gathering?
- How Far in Advance Can I Make Crispy Baked Chicken Wings?
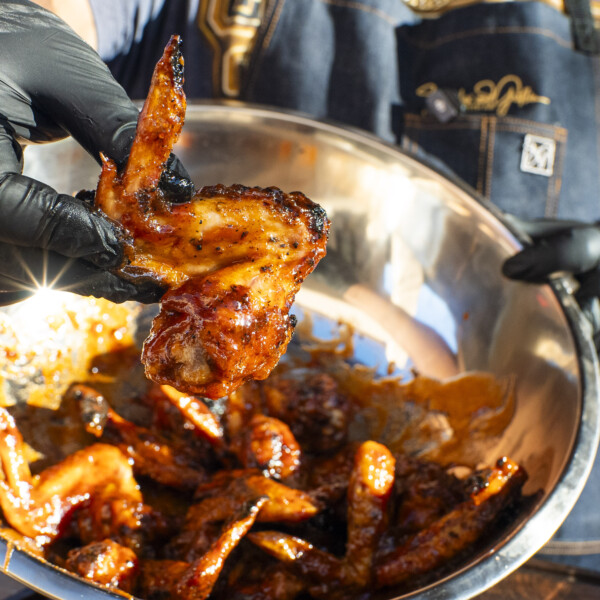
Y’all ever crave some finger-lickin’ good wings, but don’t want to deal with all that grease from frying? I got you! These Crispy Baked Chicken Wings are gonna hit the spot. Trust me on this—this recipe is the real deal, and once you give it a go, you’ll never want to order wings out again. We’re talkin’ crispy, flavorful wings straight outta the oven, no deep fryer necessary.
Now, whether you’re hosting game day, prepping for a weekend BBQ, or just lookin’ for a quick and tasty dinner, these wings are perfect for every occasion. I’ll walk you through step-by-step on how to get that restaurant-quality crisp without the extra oil. We’re gonna take these wings to the next level, and by the time you’re done, you’ll be the wing king (or queen) of your kitchen.
So grab your tongs and let’s get into it!
If you’ve ever wondered how to get wings crispy without deep frying, this recipe is your golden ticket. Baked wings can be just as crispy—if not crispier—than the fried ones, and without all the extra oil and mess. You can feel good about chowing down on these wings, whether you’re making them for a family feast, a party, or just a solo snack attack.
But let’s talk flavor. These wings come out crispy on the outside, juicy on the inside, and seasoned to perfection. The key to this recipe is using baking powder—yup, that’s the magic ingredient that gives these wings their irresistible crunch. And the best part? You can easily customize these bad boys with any flavor profile you want—Buffalo, Lemon Pepper, Garlic Parmesan, and beyond.
Plus, baked wings are super versatile. They’re great for game days, holidays, or even a weeknight dinner. Whether you’re whipping up a batch for the kids or impressing your guests at the next family gathering, this recipe’s got your back. And hey, with the oven doing all the work, you get to kick back and relax while the wings bake to crispy perfection.
Ingredients for Crispy Baked Chicken Wings
Alright, before we get started, let’s make sure you’ve got everything you need. Here’s a quick rundown of the ingredients:
- 2 lbs chicken wings, separated into flats and drumettes
- 1 tbsp baking powder (not baking soda)
- 1 tsp garlic powder
- 1 tsp onion powder
- 1 tsp smoked paprika
- 1 tsp salt
- ½ tsp black pepper
- ½ tsp cayenne pepper (optional, for heat)
- 2 tbsp olive oil
- Fresh parsley (for garnish, optional)
Got all that? Cool—now let’s get into the good stuff!
Step-by-Step Guide to Preparing Crispy Baked Chicken Wings
1. Preheat Your Oven
First things first, let’s get that oven hot. Preheat your oven to 425°F (220°C). You want the oven nice and toasty to get that crispy skin we’re after.
Next, line a baking sheet with foil or parchment paper for easy cleanup. Place a wire rack on top of the baking sheet—this is crucial. The wire rack will allow air to circulate around the wings, so they cook evenly on all sides.
2. Dry the Wings
Now, one of the secrets to crispy wings is making sure they’re dry. Take your chicken wings and pat them down with paper towels until they’re as dry as possible. This step is important because moisture is the enemy of crispy skin.
3. Season the Wings
In a large mixing bowl, toss the wings with the olive oil to coat them evenly. The oil helps the seasoning stick and also assists in crisping up the skin.
In a separate small bowl, mix together your dry ingredients:
- 1 tbsp baking powder
- 1 tsp garlic powder
- 1 tsp onion powder
- 1 tsp smoked paprika
- 1 tsp salt
- ½ tsp black pepper
- ½ tsp cayenne pepper (optional)
Sprinkle this seasoning mixture over the wings and toss them until they’re fully coated. Don’t skimp on the seasoning—this is where all the flavor comes from!
4. Arrange the Wings on the Rack
Lay the seasoned wings out on the wire rack in a single layer. Make sure the wings aren’t touching each other, so they cook evenly. If you’ve got too many wings for one pan, you might need to work in batches or use two pans.
5. Bake the Wings
Slide the baking sheet into your preheated oven and bake the wings for 45-50 minutes, flipping them halfway through the cooking time. Flipping is key—it ensures both sides get that beautiful golden-brown color and crispiness.
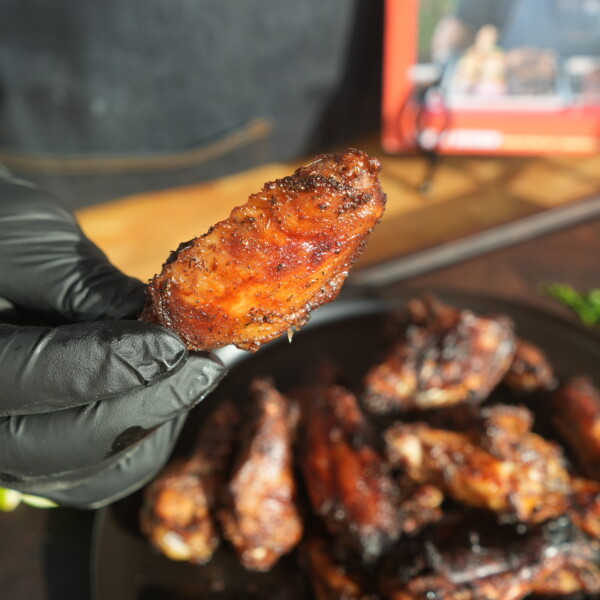
You’ll know the wings are done when they’re crispy and have that perfect golden hue. If you want ’em extra crispy, you can leave them in the oven for an additional 5 minutes.
6. Serve & Enjoy
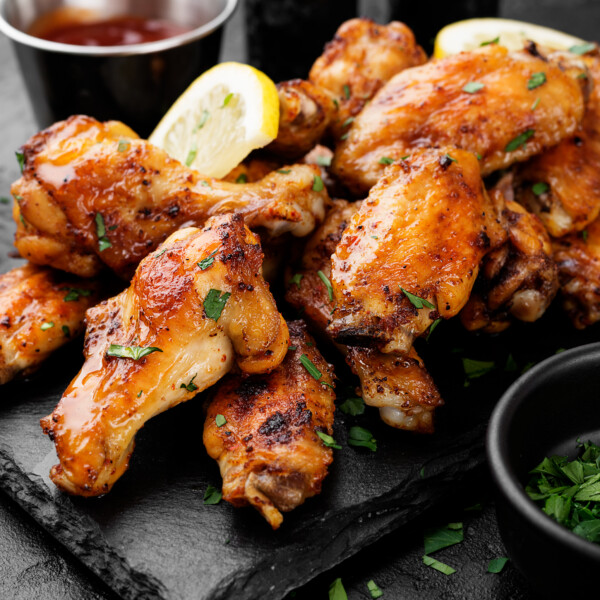
When your wings are done, let them rest for a minute or two. Then transfer them to a serving plate and garnish with fresh parsley for a little extra pop of color (optional).
Serve them up with your favorite dipping sauces—whether it’s classic ranch, blue cheese, or something a little spicier like a homemade buffalo sauce.
And there you have it—crispy baked wings that’ll have everyone coming back for seconds (or thirds)!
Expert Tips and Tricks for Perfect Wings Every Time
I’ve made my fair share of wings over the years, so let me hit you with some pro tips to make sure you nail it every time:
- Baking Powder Magic: The baking powder is what makes the wings super crispy. Make sure you’re using baking powder, not baking soda—trust me, that’s a mistake you don’t want to make!
- Dry Wings = Crispy Wings: Pat those wings dry before seasoning them. The less moisture, the crispier the skin.
- Use a Wire Rack: The wire rack allows the heat to circulate all around the wings, ensuring even cooking and crispiness on all sides.
- Don’t Crowd the Pan: Give your wings some room to breathe on that rack. Crowding the pan will cause them to steam instead of getting crispy.
- Flip for Crispiness: Flipping the wings halfway through cooking ensures both sides get crispy.
- Broil for Extra Crispiness: If you want that next-level crispiness, broil the wings for the last 2-3 minutes of cooking. Just keep an eye on them, so they don’t burn.
15 Variations to Switch Up the Flavor Game
Now that you’ve got the basics down, let’s talk about how you can switch up the flavors. Here are 15 tasty variations to keep your wing game strong:
- Buffalo Wings: Toss the wings in a mixture of melted butter and hot sauce right after they come out of the oven.
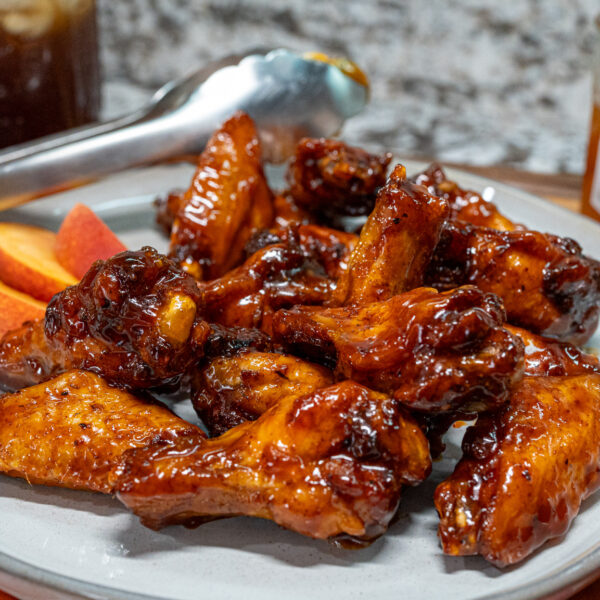
- Honey BBQ Wings: Brush the wings with a mix of BBQ sauce and honey for a sticky, sweet finish.
- Lemon Pepper Wings: Mix melted butter with lemon zest and cracked black pepper, then toss the wings in it before serving.
- Garlic Parmesan Wings: Toss the wings in a mix of melted butter, minced garlic, and grated Parmesan cheese.
- Teriyaki Wings: Brush the wings with a teriyaki glaze during the last 10 minutes of baking.
- Honey Sriracha Wings: Combine honey and sriracha for a sweet-and-spicy glaze.
- Mango Habanero Wings: Puree fresh mango with habanero peppers and brush over the wings for a fruity, fiery kick.
- Buffalo Ranch Wings: Toss the wings in buffalo sauce, then drizzle with ranch dressing.
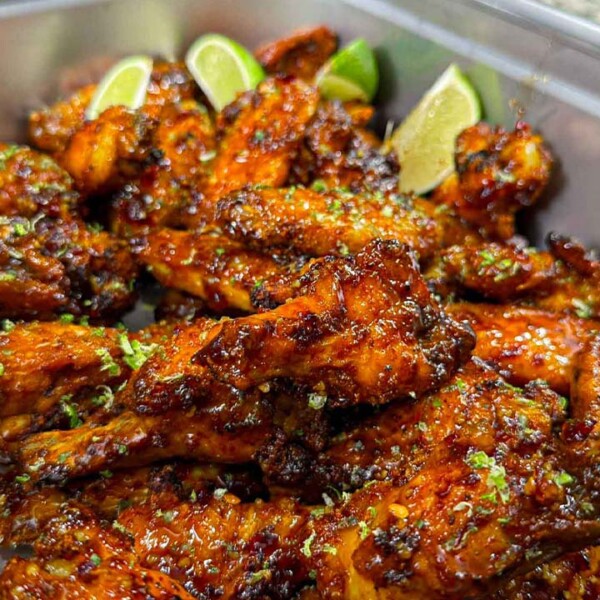
- Chipotle Lime Wings: Mix chipotle powder, lime juice, and a bit of honey for a smoky and tangy glaze.
- Cajun Wings: Toss the wings in a blend of Cajun spices for a zesty Southern flavor.
- Korean BBQ Wings: Brush the wings with a mixture of gochujang (Korean chili paste), soy sauce, and honey.
- Maple Bacon Wings: Drizzle wings with maple syrup and sprinkle with crumbled bacon.
- Thai Peanut Wings: Toss the wings in a creamy peanut sauce with a hint of lime.
- Jerk Wings: Season the wings with a jerk seasoning blend for a taste of the islands.
- Crispy Asian Wings: Toss the wings in a mixture of soy sauce, ginger, garlic, and hoisin sauce for a savory kick.
What to Serve with Crispy Baked Chicken Wings: 15 Perfect Pairings
Wondering what to serve alongside your wings? I got you covered! Here are 15 options that’ll round out your meal:
- Classic French Fries
- Sweet Potato Fries
- Coleslaw
- Mac and Cheese
- Loaded Baked Potatoes
- Potato Salad
- Caesar Salad
- Cornbread
- Biscuits
- Corn on the Cob
- Baked Beans
- Roasted Vegetables
- Garlic Bread
- Pasta Salad
- Pickle Spears
Storage Tips for Crispy Baked Chicken Wings
If you’ve got leftovers (and that’s a big if), here’s how to store your wings to keep them crispy:
- Fridge: Store leftover wings in an airtight container in the fridge for up to 3-4 days. To reheat, pop them back into a 350°F oven for about 10-15 minutes, until they’re heated through and crispy again.
- Freezer: If you want to freeze your wings, let them cool completely, then store them in a freezer-safe container for up to 3 months. When you’re ready to enjoy, thaw them overnight in the fridge and then reheat in the oven.
How Many Wings Should I Make for a Family Gathering?
For family gatherings, plan on serving about 6-8 wings per person. If you’re hosting a big game day or BBQ, I’d recommend bumping that up to 10-12 wings per person—especially if wings are the main event.
One baking sheet can hold about 20 wings comfortably, so for a gathering of 8 people, I’d suggest making at least two trays of wings. If your crowd loves wings as much as I do, you might want to make extra!
How Far in Advance Can I Make Crispy Baked Chicken Wings?
You can prep the wings a day ahead by seasoning them and letting them rest uncovered in the fridge. This will actually help dry out the skin even more, making them even crispier when you bake them.
Just don’t bake them ahead of time. The wings are best enjoyed fresh out of the oven for that signature crispy crunch. But if you need to reheat them, follow the reheating tips above to crisp them back up.


Crispy Baked Chicken Wings: The Ultimate Game-Day Snack with a Perfect Crunch Every Time!
Ingredients
Instructions
- First things first, let’s get that oven hot. Preheat your oven to 425°F (220°C). You want the oven nice and toasty to get that crispy skin we’re after.
Next, line a baking sheet with foil or parchment paper for easy cleanup. Place a wire rack on top of the baking sheet—this is crucial. The wire rack will allow air to circulate around the wings, so they cook evenly on all sides. - Now, one of the secrets to crispy wings is making sure they’re dry. Take your chicken wings and pat them down with paper towels until they’re as dry as possible. This step is important because moisture is the enemy of crispy skin.
- In a large mixing bowl, toss the wings with the olive oil to coat them evenly. The oil helps the seasoning stick and also assists in crisping up the skin.
In a separate small bowl, mix together your dry ingredients:
1 tbsp baking powder
1 tsp garlic powder
1 tsp onion powder
1 tsp smoked paprika
1 tsp salt
½ tsp black pepper
½ tsp cayenne pepper (optional)
Sprinkle this seasoning mixture over the wings and toss them until they’re fully coated. Don’t skimp on the seasoning—this is where all the flavor comes from! - Lay the seasoned wings out on the wire rack in a single layer. Make sure the wings aren’t touching each other, so they cook evenly. If you’ve got too many wings for one pan, you might need to work in batches or use two pans.
- Slide the baking sheet into your preheated oven and bake the wings for 45-50 minutes, flipping them halfway through the cooking time. Flipping is key—it ensures both sides get that beautiful golden-brown color and crispiness.
You’ll know the wings are done when they’re crispy and have that perfect golden hue. If you want ’em extra crispy, you can leave them in the oven for an additional 5 minutes. - When your wings are done, let them rest for a minute or two. Then transfer them to a serving plate and garnish with fresh parsley for a little extra pop of color (optional).
Serve them up with your favorite dipping sauces—whether it’s classic ranch, blue cheese, or something a little spicier like a homemade buffalo sauce.
And there you have it—crispy baked wings that’ll have everyone coming back for seconds (or thirds)!