This post may contain affiliate links. Please read our disclosure policy.
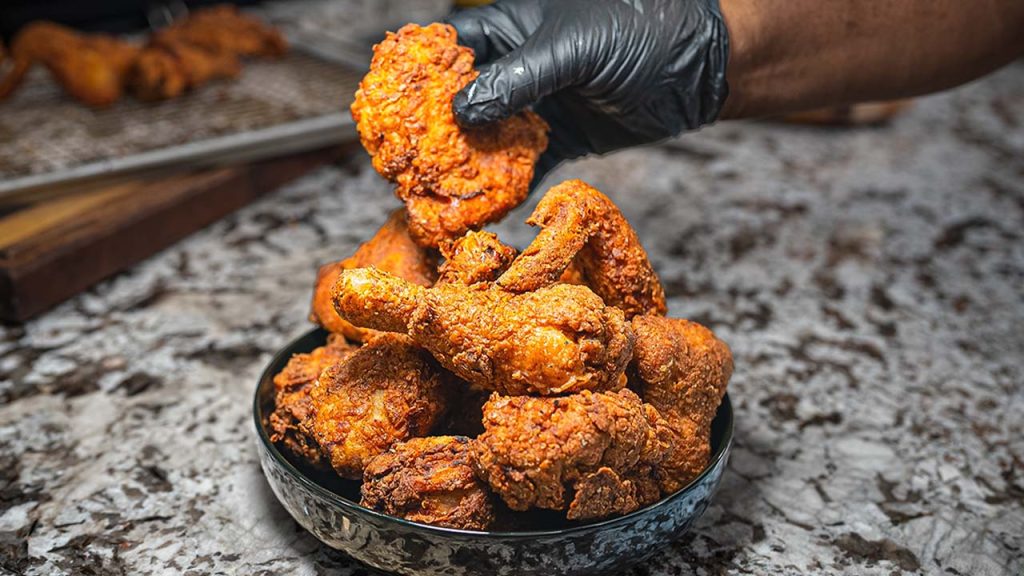
Table of Contents
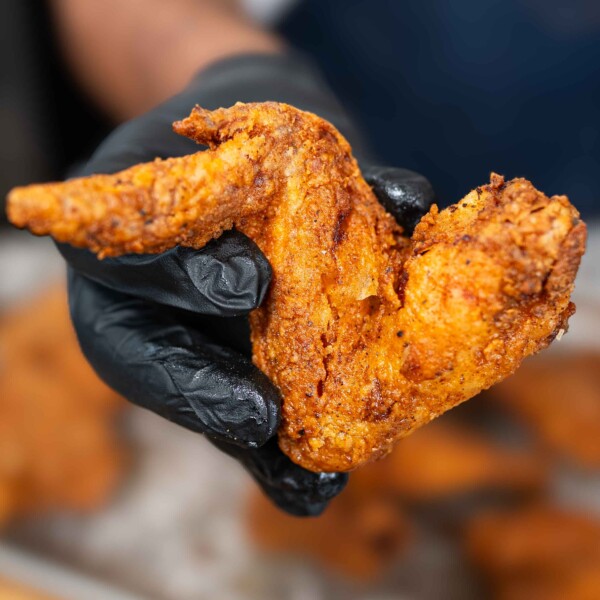
There’s fried chicken, and then there’s fried chicken that makes you stop mid-bite and just nod in appreciation. This recipe is all about achieving that kind of moment. We’re starting with bone-in chicken thighs for maximum flavor, but we’re taking the bones out before marinating so the meat cooks evenly and every bite is easy to enjoy. We keep the skin on — because that’s where the magic happens when it hits the hot oil.
Our flavor game is layered. The chicken marinates in buttermilk, hot sauce, and pickle juice to get tender and juicy. The breading is seasoned with AB’s A Rub for that signature kick. And here’s the key move — we coat the chicken in seasoned flour, let it rest on a rack to let the coating set, then hit it with a second flour coat right before frying. No dipping back into the marinade. This method gives you a thicker crust that fries up shatteringly crisp without the coating slipping off.
Why Debone Bone-In Chicken Thighs?
Bone-in thighs are naturally juicier and more flavorful than breasts, but the bone can slow cooking and make eating messier. By removing the bone before marinating, you keep all the flavor benefits but get more even cooking and an easier bite. Keeping the skin ensures the meat stays moist and that golden crunch stays intact.
Why Let the First Coat Rest Before the Second?
When you dredge chicken in flour and let it sit, the moisture from the marinade helps the flour hydrate slightly and stick better to the meat. By giving it a short rest on a wire rack, the coating adheres firmly. Then, when you add a second layer of flour, you’re building a sturdy crust that won’t fall off in the oil.
Ingredients
For the Marinade:
- 8 chicken drumsticks
- 8 chicken thighs (bone-in, skin on — debone before marinating)
- 2 cups buttermilk
- 2 tablespoons hot sauce
- 1/2 cup pickle juice (dill or sweet)
- 2 teaspoons salt
Breading:
- 2 cups all-purpose flour
- 1 tablespoon cornstarch
- 2 teaspoons salt
- 1 teaspoon black pepper
- 1 teaspoon onion powder (optional)
- 2 tablespoons AB’s A Rub
Frying:
- Cooking oil (vegetable, canola, or peanut oil) — enough to fully submerge the chicken
Step-by-Step Guide
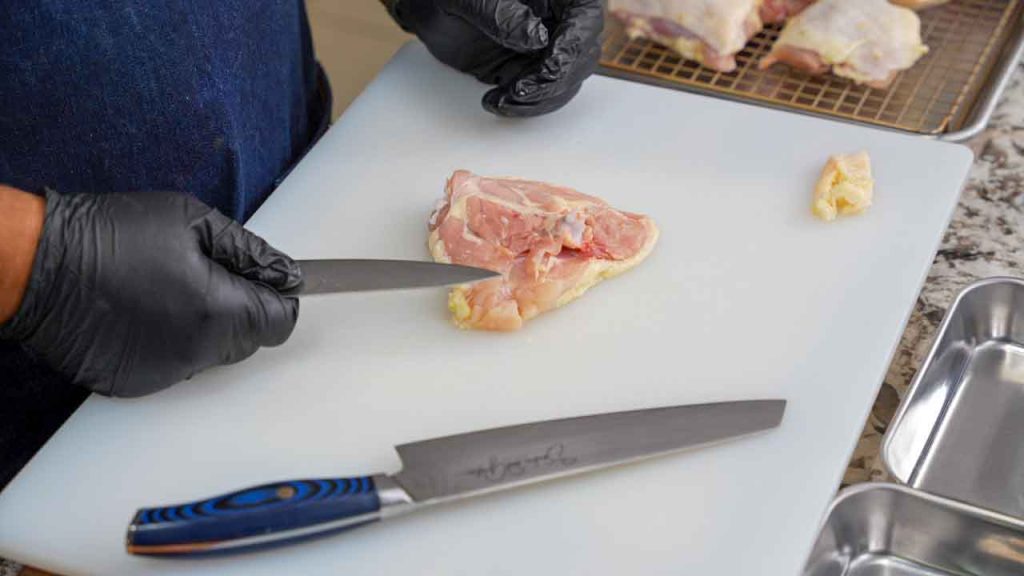
Prep the Chicken
- Place each thigh skin-side down on a cutting board. Use a sharp boning knife to cut along the bone, working underneath until it comes out clean. Keep the skin intact.
- Pat the chicken dry with paper towels.
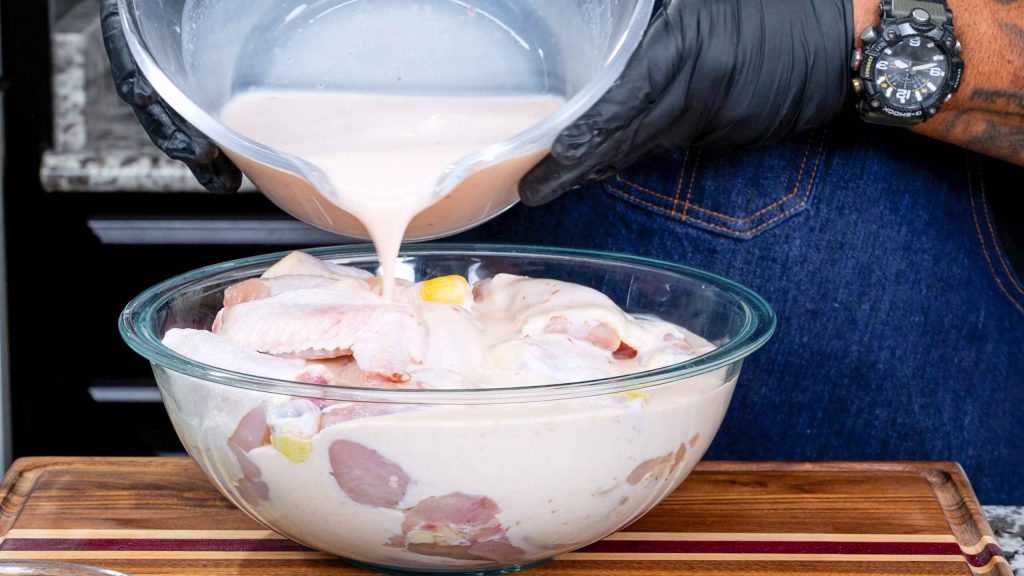
Marinate
- In a large bowl, whisk together buttermilk, hot sauce, pickle juice, and salt.
- Add the chicken pieces and turn to coat.
- Cover and refrigerate for at least 4 hours or overnight for the best flavor and tenderness.
Make the Seasoned Flour
- In a shallow dish, mix flour, cornstarch, salt, black pepper, onion powder, and AB’s A Rub.
- Stir until well combined.
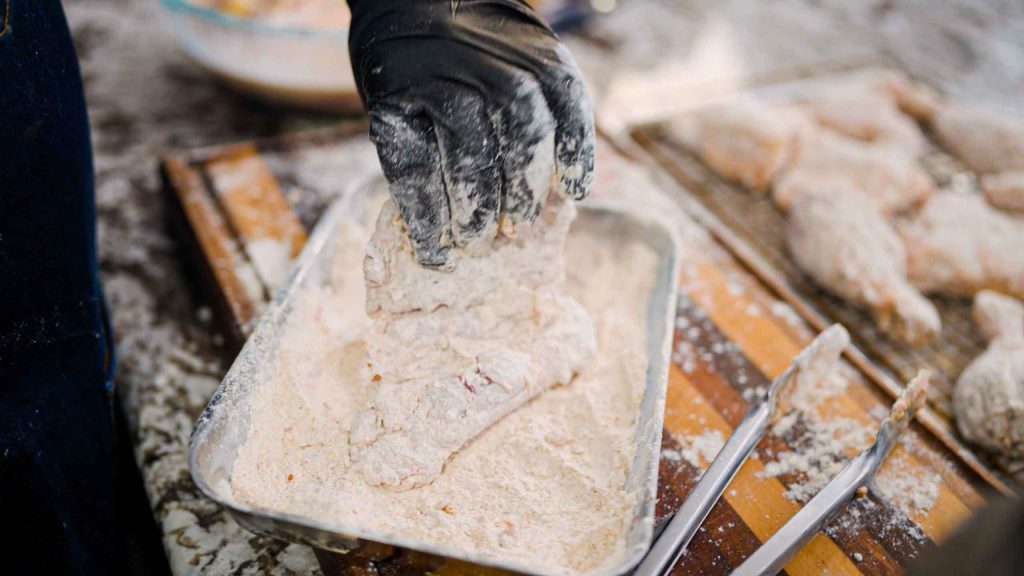
First Coat and Rest
- Remove chicken from the marinade, letting excess drip off.
- Dredge each piece thoroughly in the seasoned flour, pressing it in so it adheres.
- Place the coated chicken on a wire rack set over a baking sheet.
- Let it rest for 15–20 minutes to allow the coating to set.
Second Coat
- After resting, dredge each piece in the seasoned flour again, pressing firmly to build up the crust.
- Shake off any loose flour.
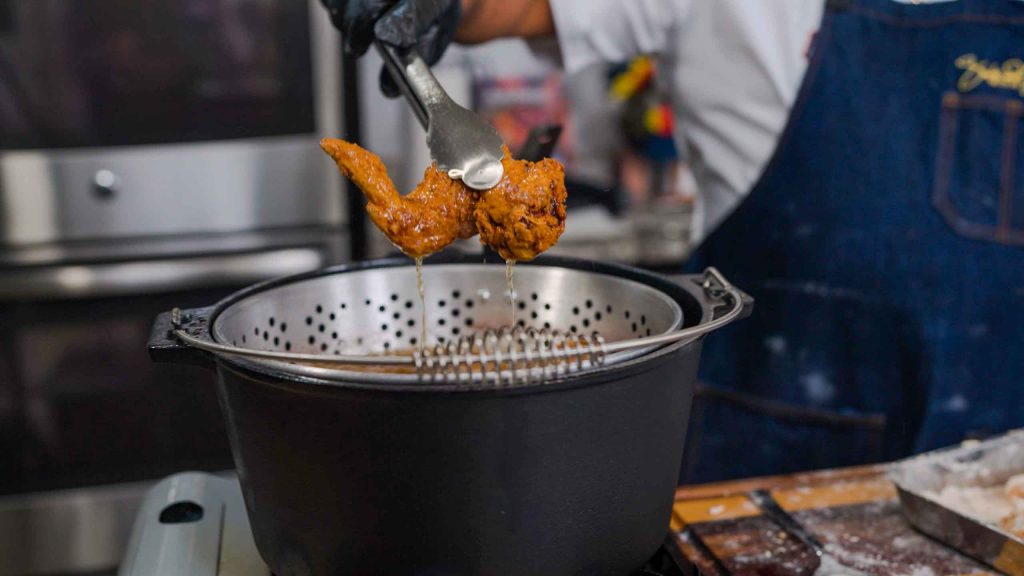
Fry
- Heat oil in a deep, heavy pot to 325°F.
- Fry chicken in batches without crowding the pot — about 12–15 minutes for thighs and 10–12 minutes for drumsticks.
- The internal temperature should reach 165°F.
- Transfer to a clean wire rack to drain and keep crisp.
Pro Tips
- Cornstarch in the flour lightens the crust and makes it crispier.
- Wire rack resting keeps the coating from getting soggy and lets it adhere better.
- Oil temperature control is key; too low and the chicken will absorb oil, too high and the outside will burn before the inside is done.
- Double flour coating without a wet dip makes for a sturdy, crunchy shell that stays on when you bite.
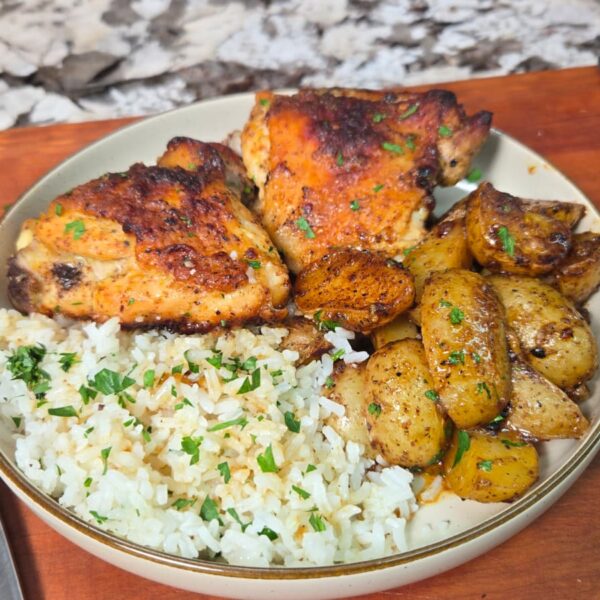
What to Serve with Crispy Fried Chicken
Fried chicken is already a star on the plate, but the right sides turn it into a full-on feast. Whether you’re building a Sunday dinner, a backyard cookout, or just a “because I can” meal, here are some perfect pairings:
- Mac and Cheese – Creamy, cheesy, and rich. The soft pasta balances the crunchy chicken perfectly.
- Collard Greens – Braised low and slow with smoked turkey or ham hock for that deep, savory flavor.
- Mashed Potatoes with Gravy – A classic comfort food combo. Use chicken pan drippings for the gravy to tie it all together.
- Coleslaw – Crisp, tangy slaw cuts through the richness and adds freshness to the plate.
- Buttermilk Biscuits – Fluffy, buttery, and perfect for sopping up any juices or gravy.
- Cornbread – Sweet or savory, cornbread makes a classic Southern side.
- Potato Salad – A chilled, creamy side dish that pairs well at picnics or cookouts.
- Green Beans – Whether steamed with butter or simmered with bacon, they add a nice green element to the meal.
- Fried Okra – Another Southern classic, lightly battered and fried for extra crunch.
- Corn on the Cob – Buttered, seasoned, and grilled or boiled, it’s a sweet and savory complement to fried chicken.
Summarize and Save

Crispy Double-Coated Fried Chicken
Ingredients
- For the Marinade:
- 8 chicken drumsticks
- 8 chicken thighs bone-in, skin on — debone before marinating
- 2 cups buttermilk
- 2 tablespoons hot sauce
- 1/2 cup pickle juice dill or sweet
- 2 teaspoons salt
- For the Breading:
- 2 cups all-purpose flour
- 1 tablespoon cornstarch
- 2 teaspoons salt
- 1 teaspoon black pepper
- 1 teaspoon onion powder optional
- 2 tablespoons AB’s A Rub
- For Frying:
- Cooking oil vegetable, canola, or peanut oil — enough to fully submerge the chicken
Instructions
- Debone the thighs by placing them skin-side down and carefully cutting along and under the bone with a sharp knife. Keep the skin intact.
- Pat all chicken pieces dry with paper towels.
- In a large bowl, mix buttermilk, hot sauce, pickle juice, and salt.
- Add chicken and coat completely. Cover and refrigerate at least 4 hours or overnight.
- In a shallow dish, combine flour, cornstarch, salt, black pepper, onion powder, and AB’s A Rub. Mix well.
- Remove chicken from marinade, letting excess drip off.
- Dredge each piece in seasoned flour, pressing it in to coat well.
- Place coated chicken on a wire rack over a baking sheet. Let rest 15–20 minutes to set the coating.
- Dredge chicken in the seasoned flour again, pressing firmly for a thick crust. Shake off excess.
- Heat oil in a deep pot to 325°F.
- Fry chicken in batches without crowding, about 12–15 minutes for thighs and 10–12 minutes for drumsticks, until golden brown and internal temperature reaches 165°F.
- Transfer to a clean wire rack to drain and keep crispy.
Nutrition
Nutrition information is automatically calculated, so should only be used as an approximation.
Like This? Leave a comment below!


Don’t skip any of these steps. This was amazing! The work is worth it for this yummy fried chicken.
This looks so good