This post may contain affiliate links. Please read our disclosure policy.

Table of Contents
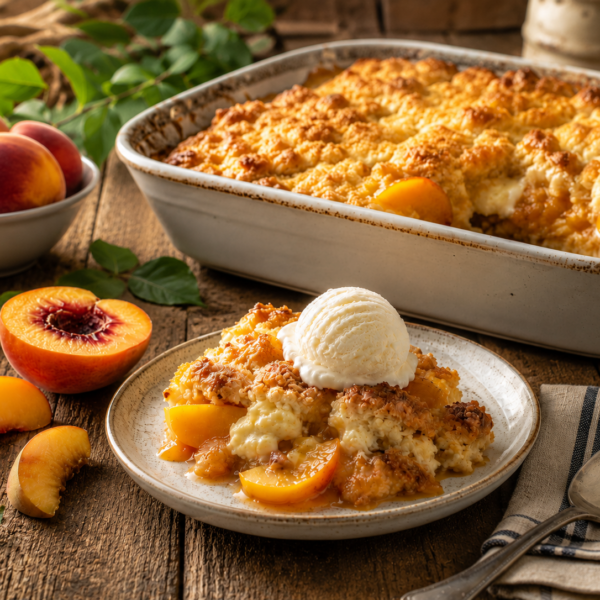
Hey, fellow dessert enthusiasts! If you’re on the lookout for a quick and delightful treat that won’t have you breaking a sweat, you’re in for a treat. Today, I’m sharing my go-to no-bake cheesecake recipe that’s not only easy to make but also offers endless possibilities for customization. Stick around for some storage tips, exciting variations, and more!
Ingredients:
- Graham crackers
- Butter
- Cream cheese (at room temperature)
- Granulated sugar
- Vanilla extract
- Powdered sugar
- Cold heavy whipping cream
- Cornstarch
- Cherry pie filling (or your favorite pie filling)
Step 1: Prepare the Graham Cracker Crust


Start by blending graham crackers and melted butter in a food processor until the mixture holds together. Press it into a pan, ensuring an even spread. For an extra touch, consider adding a layer of finely chopped nuts to the crust. Pop it in the fridge to set while we move on to the next step.
Step 2: Make the Creamy Filling
Beat your room temperature cream cheese until soft, then add powdered sugar and vanilla extract. Gradually incorporate cold heavy whipping cream until stiff peaks form. This step is crucial for achieving that light, airy texture we all love.
Step 3: Assemble and Chill
Spread the creamy mixture over the graham cracker crust evenly. Refrigerate for a minimum of four hours or, for optimal results, leave it overnight. This crucial chilling period allows the cheesecake to set perfectly.
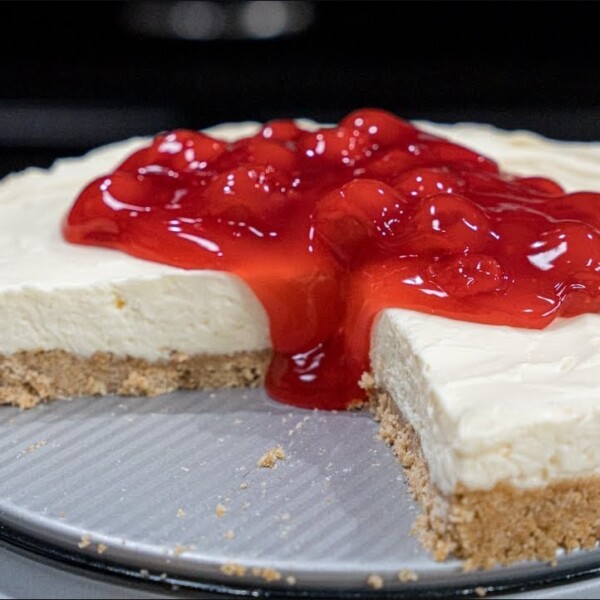
Step 4: Cherry on Top (Literally) and Variations
Release the spring pan and unveil your masterpiece. Top your cheesecake with cherry pie filling for a classic touch. However, don’t hesitate to experiment with variations:
- Fruit Medley: Substitute the cherry filling with a mix of your favorite fresh berries or sliced fruits.
- Chocolate Lover’s Delight: Drizzle melted chocolate over the top or add chocolate shavings for a rich twist.
- Citrus Zest: Infuse the filling with citrus zest (lemon or orange) for a refreshing burst of flavor.

Storage Tips:
To keep your no-bake cheesecake fresh:
- Refrigeration: Store leftovers in the refrigerator, covered with plastic wrap or aluminum foil, for up to five days.
- Freezing: Yes, you can freeze no-bake cheesecake! Wrap individual slices in plastic wrap and aluminum foil, then place them in an airtight container. Freeze for up to two months.
- Thawing: When ready to enjoy your frozen cheesecake, transfer it to the refrigerator overnight. This gradual thawing process maintains the creamy texture.
Pro Tips:
- Customize Your Crust: Experiment with different cookies or crackers for the crust to tailor the flavor to your liking.
- Layered Delight: Create a multi-layered dessert by adding a thin layer of fruit compote or chocolate ganache between the crust and filling.
Summarize and Save

Easy No Bake Cheesecake Recipe
Ingredients
Graham Cracker Crust
- 6 tbsp Butter melted
- 1 1/2 cup Graham Cracker Crumbs
- 1/4 cup Granulated Sugar
Cheesecake Filling
- 16 oz Cream Cheese softened
- 1 cup Powdered Sugar
- 1 tsp Vanilla Extract
- 1 cup Heavy Whipping Cream cold
- 1 tsp Cornstarch
- Cherry Pie Filling
Instructions
- Step 1: Prepare the Graham Cracker Crust Start by grabbing your food processor. Toss in the graham crackers, and follow it up with some melted butter. The key here is to ensure that your butter is completely melted. Give it a good blend until you achieve a texture where the mixture holds together when pressed. Pro tip: Before adding the mixture to your pan, spray a bit of non-stick spray along the edges for easy removal later. Spread the graham cracker crust in the pan, making sure it’s even but not overly thick in certain areas. Pop it in the refrigerator to set while you move on to the next step. Step 2: Make the Creamy Filling Now comes the star of the show – the creamy cheesecake filling. Ensure your cream cheese is at room temperature, and beat it for about 30 seconds until it’s nice and soft. Add powdered sugar and vanilla extract, mixing it all together. Slowly incorporate cold heavy whipping cream into the mixture, gradually increasing the speed until you reach stiff peaks. This step is crucial for the light and fluffy texture of your cheesecake.
Step 3: Assemble and Chill Carefully fold the creamy mixture onto the graham cracker crust, ensuring it’s evenly spread. Once that’s done, it’s time to refrigerate. A minimum of four hours is recommended, but overnight will give you the best results. This chilling process allows the cheesecake to set and achieve that perfect, firm texture. Step 4: Cherry on Top (Literally) The next day (or after at least four hours), it’s time for the finishing touch. Gently release the spring pan, revealing your beautifully set cheesecake. Top it off with cherry pie filling (or your preferred flavor) for that extra burst of sweetness. Step 5: Enjoy the Fruits of Your Labor Slice yourself a piece of this heavenly creation and savor the fruits of your labor. The combination of the velvety cheesecake with the sweet cherry topping is sure to leave your taste buds dancing. And don’t worry if the presentation isn’t perfect; it’s the taste that truly matters.
Nutrition
Nutrition information is automatically calculated, so should only be used as an approximation.
Like This? Leave a comment below!