This post may contain affiliate links. Please read our disclosure policy.
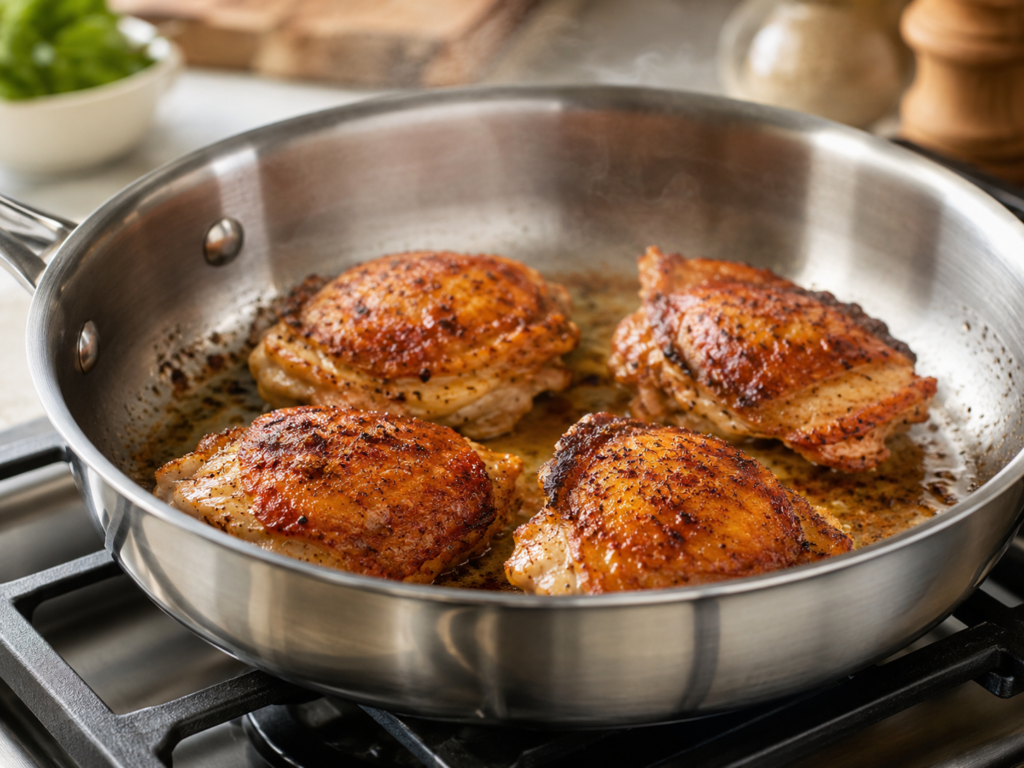
Table of Contents
- Quick Answer: How to Use Stainless Steel Without Food Sticking
- Why Stainless Steel Pans Are Worth Learning
- What Stainless Steel Cooks Best
- Foods Beginners Should Avoid at First
- Step 1: Dry the Food First
- Step 2: Preheat the Pan
- Step 3: Use the Water Drop Test
- Step 4: Add Oil After the Pan Is Hot
- Step 5: Add the Food and Leave It Alone
- Step 6: Adjust the Heat as You Cook
- Do Not Overcrowd the Pan
- How to Make a Quick Pan Sauce or Gravy
- How to Clean Stainless Steel Pans
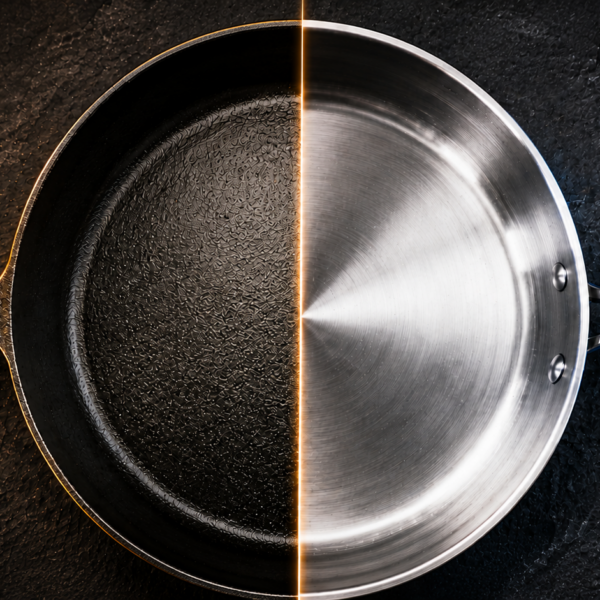
- Stainless Steel vs Nonstick vs Cast Iron
- Common Stainless Steel Mistakes
- What Should You Cook First in Stainless Steel?
- FAQ: Cooking with Stainless Steel Pans
- Final Thoughts
A simple guide to preheating, oiling, searing, cleaning, and knowing what foods work best in stainless steel.
Quick Answer: How to Use Stainless Steel Without Food Sticking
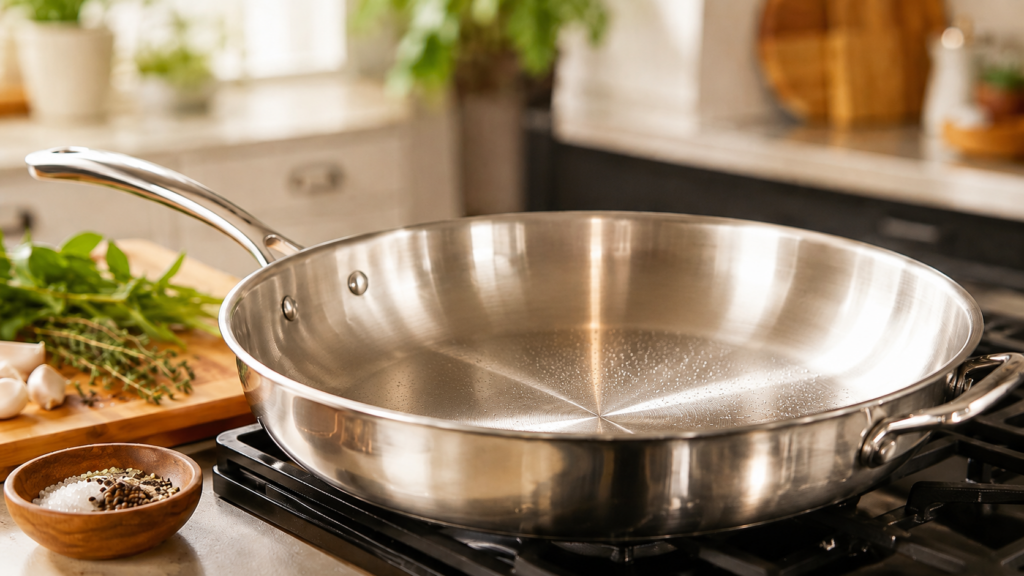
Stainless steel pans are not hard to use once you understand the order: preheat the pan, dry the food, add oil after the pan is hot, lay the food down, and leave it alone until it releases.
Most sticking comes from rushing one of those steps. The pan is too cold, the food is wet, the oil is not hot, or the food gets moved before the crust has time to form.
If you are new to stainless steel, start with foods that like browning: chicken thighs, pork chops, steak, sausage, shrimp, mushrooms, onions, peppers, and potatoes. Save eggs, pancakes, and delicate fish until you have the heat control down.
Why Stainless Steel Pans Are Worth Learning
Stainless steel is one of the best all-around cooking surfaces for home cooks because it helps you build real flavor. Unlike nonstick, it does not depend on a coating, and unlike cast iron, it does not need seasoning maintenance.
A good stainless steel pan can sear, sauté, simmer, reduce sauces, cook vegetables, brown meat, and go from everyday dinner to company food without changing tools.
- It builds better browning on meat and vegetables.
- It handles medium-high heat well.
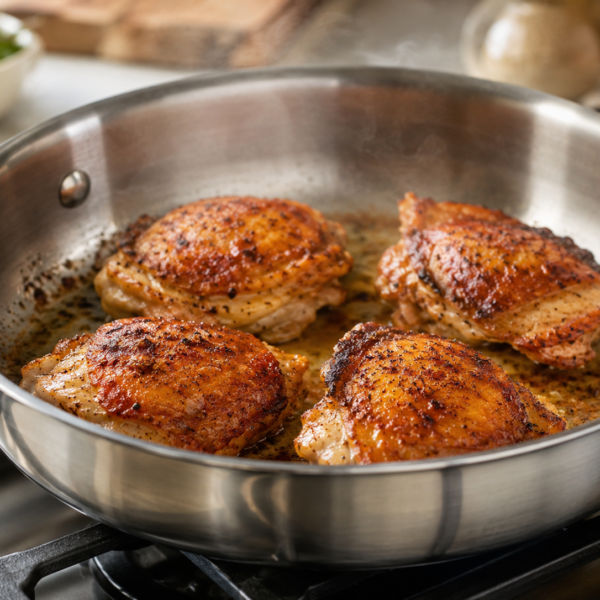
- It leaves behind fond — those browned bits that turn into sauces and gravies.
- It does not have a coating that wears out.
- It is one of the best pans for learning real heat control.
What Stainless Steel Cooks Best
Stainless steel shines when the goal is browning, searing, or building flavor in the bottom of the pan.
- Steak: great crust when the surface is dry and the pan is properly heated.
- Chicken thighs: especially skin-on thighs when you want crispy skin and pan drippings.
- Chicken breast: good color with controlled heat. This same idea works with my Grilled Chicken Breast.
- Pork chops: one of the best stainless steel proteins because you can sear first and make gravy in the same pan. If you like that style, see The Best Fried Pork Chops.
- Shrimp: fast sear when the shrimp are dry before they hit the pan.
- Sausage: browns well and leaves flavor behind for onions, peppers, cabbage, potatoes, or broth. That same flavor-building mindset works in Dirty Smothered Potatoes and Fried Cabbage with Smoked Sausage and Shrimp.
- Onions, peppers, and mushrooms: they brown better when they have room and the pan is not crowded.
Foods Beginners Should Avoid at First
Can you cook almost anything in stainless steel? Yes. But if you are still learning, do not start with the foods that punish every little mistake.
I would not start with:
- Eggs
- Pancakes
- Delicate fish
- Cheese-heavy foods
- Sugary sauces
- Anything you feel like you need to flip right away
Eggs can be done in stainless steel, but they require good heat control and enough fat. Build confidence with chicken, steak, pork chops, shrimp, sausage, onions, peppers, and mushrooms first.
Step 1: Dry the Food First
Moisture is one of the biggest reasons food sticks and refuses to brown. If the surface is wet, the food steams before it sears.
Before cooking meat, fish, shrimp, or vegetables, pat the surface dry with paper towels. This matters most with chicken skin, steak, pork chops, salmon, shrimp, mushrooms, and potatoes.
Once the food is dry, season it before placing it in the pan. Dry surface first, seasoning second, hot pan third.
Step 2: Preheat the Pan
Put the empty stainless steel pan over medium heat and let it heat evenly before anything goes in.
For most home stoves, medium heat is enough to start. Let the pan heat for about two to four minutes, depending on how thick the pan is and how strong your stove runs.
Do not rush this part. If the pan is too cold, food grabs the surface and sticks. If the pan is screaming hot, oil smokes and the outside can burn before the inside cooks.
Step 3: Use the Water Drop Test
The water drop test is an easy way to know when a stainless steel pan is ready.
- Add one small drop of water to the dry pan.
- If it sits in place and slowly bubbles, the pan is still too cool.
- If it disappears instantly, the pan may be too hot.
- If it forms a bead and dances around the pan, the pan is ready.
Once the pan passes the test, carefully wipe out the water before adding oil. You only need a tiny drop for the test, not a splash of water.
Step 4: Add Oil After the Pan Is Hot
After the pan is hot, add enough oil to lightly coat the bottom. Let the oil heat for several seconds before adding food.
The oil should look shiny and move easily across the pan. If it smokes heavily, the pan is probably too hot. Turn the heat down and let it settle.
Good oils for searing include avocado oil, canola oil, vegetable oil, grapeseed oil, and refined olive oil. For more on picking the right oil, see my Guide to Cooking Oils.
Step 5: Add the Food and Leave It Alone
This is where a lot of people get in trouble. They put the food in the pan, then immediately start moving it around.
Do not do that.
When meat first touches stainless steel, it may grip the pan. That is normal. As the crust forms, the food will usually release on its own. If you try to force it too early, it can tear and stick worse.
Lay the food down, give it space, and let the pan do its job.
Step 6: Adjust the Heat as You Cook
Preheating matters, but that does not mean the burner stays high the whole time. Once the food goes in, adjust the heat based on what is happening in the pan.
- If the outside is browning too fast and the inside is raw, lower the heat.
- If nothing is browning, raise the heat a little.
- If the pan is smoking hard, pull back.
- If liquid is pooling and the food is steaming, the pan may be crowded or too cool.
Stainless steel cooking is about control. Start with a properly heated pan, then cook with your eyes, ears, and nose.
Do Not Overcrowd the Pan
If you put too much food in the pan at once, the temperature drops. Instead of browning, the food starts steaming.
That is why crowded chicken, shrimp, mushrooms, or sausage often comes out pale and watery.
Give the food room. If needed, cook in batches. Two good batches are better than one crowded batch that never browns.
How to Make a Quick Pan Sauce or Gravy
This is where stainless steel really shines. After cooking meat, look at the bottom of the pan. If you see browned bits, you are looking at flavor.
Here is a simple way to turn that into a sauce:
- Remove the meat from the pan.
- Lower the heat to medium or medium-low.
- Add a little butter, onions, garlic, or shallots if you want.
- Add broth, stock, wine, cream, or water.
- Scrape the bottom with a wooden spoon.
- Simmer until it thickens slightly.
- Taste and adjust the seasoning.
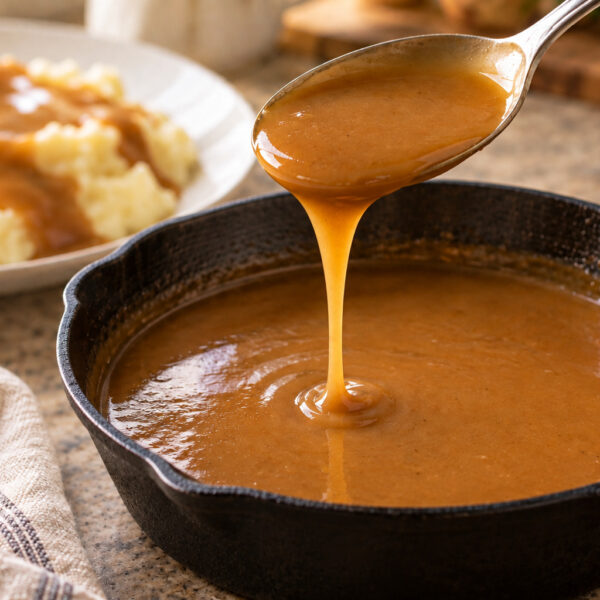
For gravy, add a little flour to the fat first, stir it in, then add your broth slowly while whisking or stirring. Now you have gravy built from the flavor already in the pan. That same flavor-building mindset is what makes dishes like Southern Style Smothered Chicken hit the way they do.
How to Clean Stainless Steel Pans
Stainless steel is easier to clean than people think. If there are browned bits stuck to the pan, do not panic.
For Light Sticking
While the pan is still warm, add a little hot water and let it loosen the bits. Use a wooden spoon or spatula to scrape the bottom gently. Then wash with dish soap and a sponge.
For Tough Stuck-On Food
Add water to the pan and bring it to a simmer for a few minutes. This helps release the stuck food. You can also add baking soda and let it sit before scrubbing.
For Stains or Discoloration
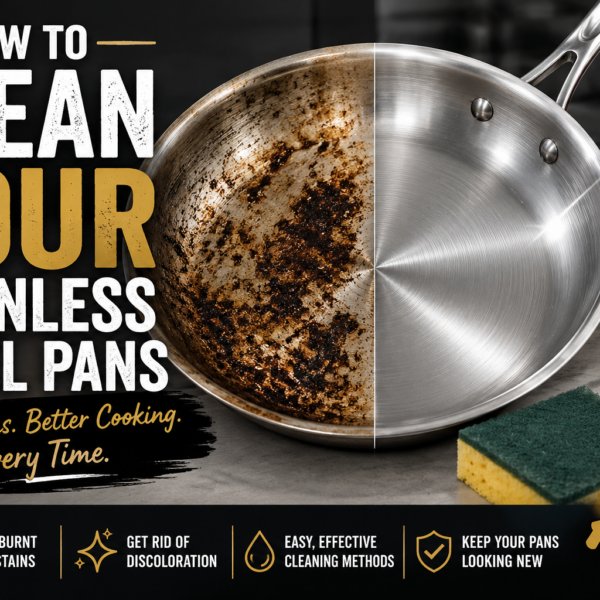
Stainless steel can get cloudy, rainbow-colored, or stained from heat and minerals. That does not mean it is ruined. A cleaner like Bar Keepers Friend can help restore shine when needed, but a working pan does not have to look brand new to cook well.
Stainless Steel vs Nonstick vs Cast Iron
Each pan has its place. You do not have to make one pan do everything.
- Stainless steel: best for searing, browning, pan sauces, gravies, chicken, steak, pork chops, shrimp, sausage, and vegetables.
- Nonstick: best for eggs, pancakes, delicate fish, lower-heat cooking, and foods that release easily.
- Cast iron: best for high-heat searing, cornbread, fried chicken, skillet meals, oven-to-stovetop cooking, and heavy browning. If you want to compare cookware, my Ultimate Guide to Cast Iron Skillets is a good next read.
A good kitchen can use all three. Stainless steel is the pan you reach for when you want browning, fond, sauce, and control.
Common Stainless Steel Mistakes
If food keeps sticking, check these mistakes first:
- You did not preheat the pan.
- You added oil too early.
- The food was wet.
- You moved the food too soon.
- The heat was too high.
- The pan was overcrowded.
- You did not use enough oil.
- You expected stainless steel to act like nonstick.
Fix those, and stainless steel gets a whole lot easier.
What Should You Cook First in Stainless Steel?
If you are just getting started, choose foods that can handle a little browning and do not fall apart easily.
Good beginner options include chicken thighs, pork chops, sausage and peppers, shrimp, mushrooms, onions, steak, ground beef, and chicken breast.
Once you get comfortable, move into salmon, eggs, and more delicate foods.
FAQ: Cooking with Stainless Steel Pans
Why does food stick to my stainless steel pan?
Food usually sticks because the pan was not hot enough, the food was too wet, there was not enough oil, or you tried to move the food before it had a chance to brown and release.
Do you add oil before or after heating a stainless steel pan?
For most searing, heat the dry pan first, then add oil. Let the oil heat for a few seconds before adding food.
What is the water drop test?
The water drop test helps you check if the pan is hot enough. Add a tiny drop of water to the pan. If it beads up and dances across the surface, the pan is ready for oil.
Can you cook eggs in stainless steel?
Yes, but eggs require good heat control and enough fat. If you are new to stainless steel, start with chicken, steak, pork chops, shrimp, or vegetables before trying eggs.
What oil is best for stainless steel pans?
For searing, use oils with higher smoke points, such as avocado oil, canola oil, vegetable oil, grapeseed oil, or refined olive oil.
Is stainless steel better than nonstick?
It depends on what you are cooking. Stainless steel is better for browning, searing, and pan sauces. Nonstick is easier for eggs, pancakes, and delicate foods.
Is stainless steel better than cast iron?
Both are useful. Stainless steel heats and responds quickly, is great for sauces, and does not need seasoning like cast iron. Cast iron is great for heat retention, cornbread, frying, and heavy searing.
How do you clean burnt food off stainless steel?
Add water to the pan and simmer it for a few minutes to loosen the stuck food. For tougher spots, use baking soda or a stainless steel cleaner like Bar Keepers Friend.
Final Thoughts
Stainless steel pans are not something to be scared of.
Once you learn how to preheat the pan, dry your food, add oil at the right time, and leave the food alone long enough to brown, everything starts making sense.
That pan can help you sear chicken, brown pork chops, cook shrimp, sauté vegetables, make gravy, and build flavor in a way nonstick just cannot do.
So the next time you pull out that stainless steel pan, do not rush it.
Heat the pan. Dry the food. Add the oil. Lay the food down. Let it work.
Once you get that part down, you will understand why stainless steel belongs in every serious home kitchen.